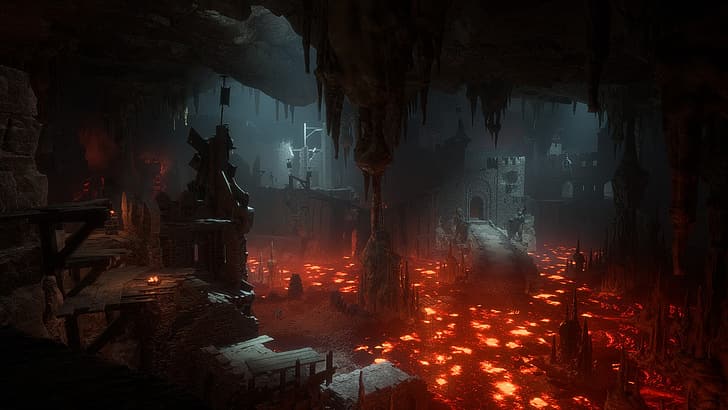
The Treasure of Sharksmouth Mountain Walkthrough – Crack the Riddle & Claim Your Loot
February 1, 2025So, you’ve made it to Sharksmouth Mountain in Dragon Age: The Veilguard and somehow ended up knee-deep in riddles and statues. Typical. This is The Treasure of Sharksmouth Mountain, a side quest that promises riches, faction gains, and a unique longsword, but only if you can crack the puzzle.
If you’re staring at a room full of statues, wondering why they won’t spill their secrets, don’t worry. This guide will walk you through everything step by step, from finding the quest to solving the riddle and reaping the rewards.
Table of Contents
How to Start The Treasure of Sharksmouth Mountain
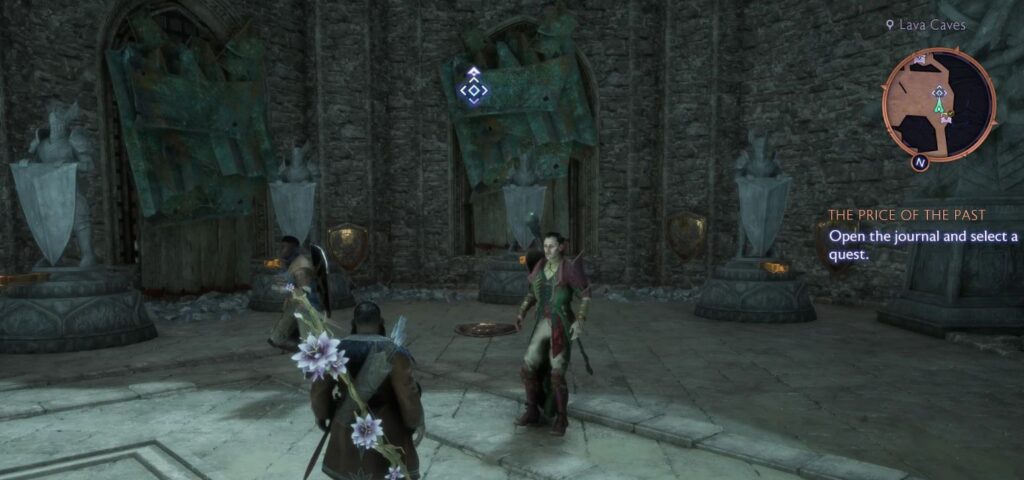
This quest kicks off automatically during the mini-boss fight in Warden Grey’s Final Response, but if you missed that moment (or just weren’t paying attention), you can also trigger it by interacting with a noticeboard near the fortress. Either way, once it’s in your journal, it’s time to get to work.
The first thing you’ll come across is a riddle—and it’s one of those classic “sounds poetic but is actually confusing” types. You’ll find the inscription either on the tower’s door or on a shield inside the fortress where you fought the mini-boss.
It reads:
Four knights rode into battle.
One fired unto the rightward flak, her arrows a steel rain.
One lingered, their shield behind to guard all’s back.
One went boldly to the fore, her sword thrust forward unto the foe.
One crept upon the leftward flank, his hammer a harvest reaped.
Translation? Four knights. Four weapons. Four directions. Your job is to figure out which way each knight should face in the statue puzzle.
Hunting Down the Clues
Before you can mess with the statues, you need to track down four hidden clues scattered across Sharksmouth Mountain. They’re not exactly in plain sight, so expect some obstacles along the way.
One clue is buried under blight growths, another is locked behind a rift, and you’ll even have to raise platforms over lava at one point. If that sounds like a lot of effort for one sword, well—welcome to Dragon Age.
Let’s break it down:
Ser Rian the Red – The Archer
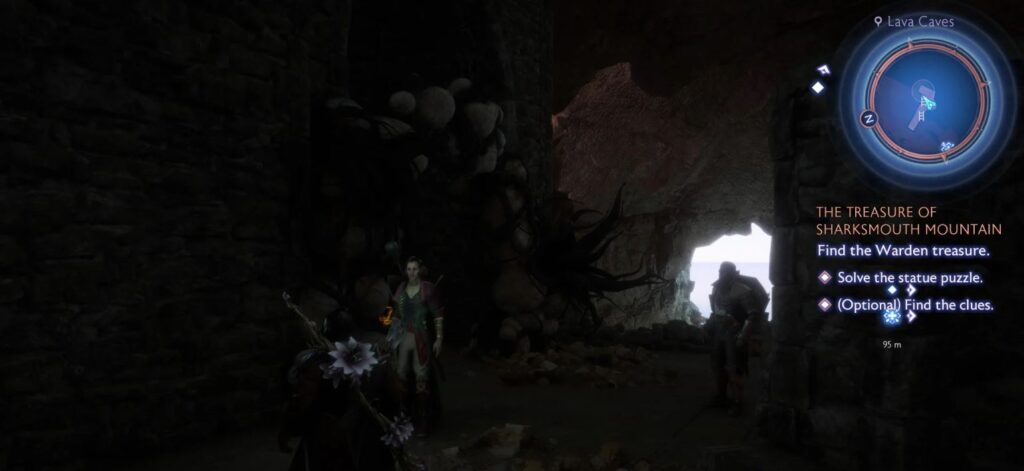
Rian’s clue is tucked away behind a blight-infested path on the westernmost part of the mountain. You’ll need Assan’s ability to clear the pods and move forward. Once inside, the clue reveals that Rian represents the arrow in the riddle—meaning her statue must face east.
Ser Ifean, Beloved of the Moon – The Shield Bearer
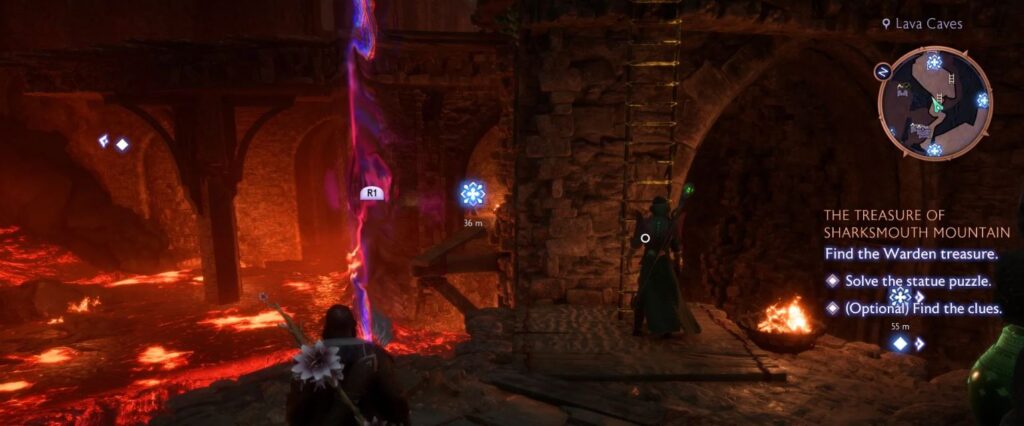
Ifean’s clue is hidden behind a rift in the main fortress area. Thankfully, your dagger (and Lucanis) can interact with it and open the way. The note inside tells you that Ifean is tied to the shield, so her statue should be turned south.
Ser Dheon the Silent – The Swordsman
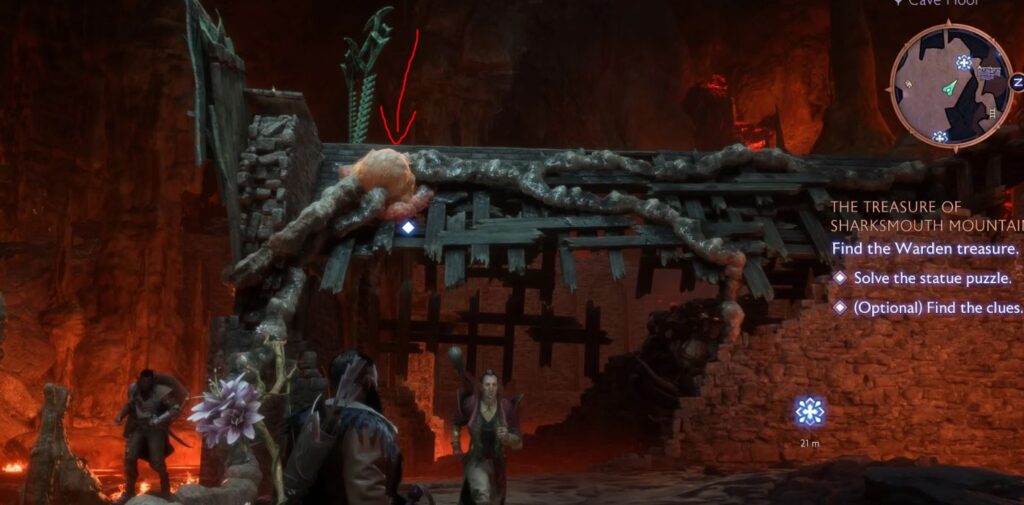
If you remember the Dragon King’s Lair, you might recall a hut near the entrance. That same hut is now covered in blight, meaning—yep—Assan has to clear it. Once inside, you’ll discover that Dheon represents the sword, which means he faces north.
Ser Cruach the Wolf – The Hammer Wielder
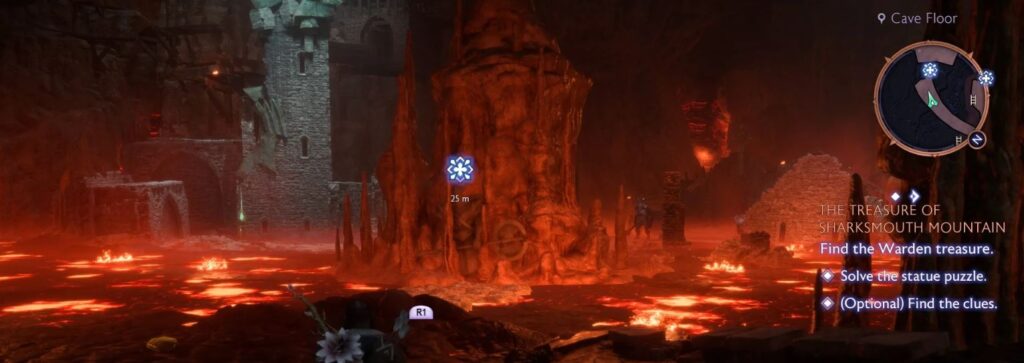
Finally, there’s Cruach, whose clue is near the fortress stone bridge overlooking lava. If you don’t fancy taking a molten bath, you’ll need your dagger or Harding’s ability to raise platforms and access the final clue. The note inside confirms that Cruach is the hammer-wielding knight, meaning his statue should face west.
Solving the Statue Puzzle
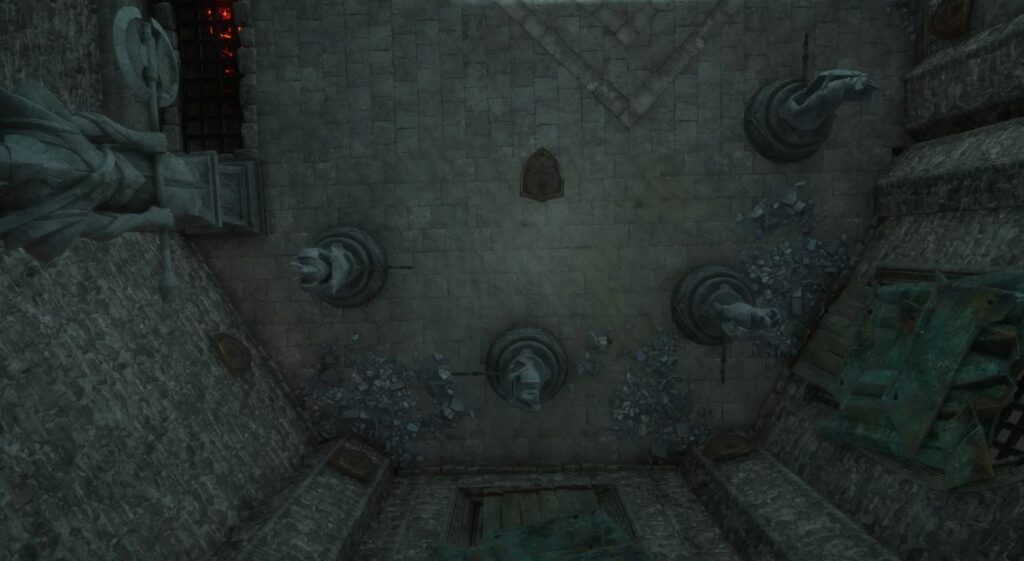
With all the clues gathered, it’s time to head back to the statue room and put those knights in their rightful places. If you’re more of a trial-and-error person, you could just spin them around randomly until the game rewards you—but if you’d rather save time, here’s the correct alignment:
- Rian (Archer) → Faces East
- Ifean (Shield Bearer) → Faces South
- Dheon (Swordsman) → Faces North
- Cruach (Hammer Wielder) → Faces West
Once you lock them into position, a hidden passage opens. Congratulations, you’re about to get paid.
The Loot – What’s Inside the Treasure Room?
After all that brainpower (and probably some trial-and-error frustration), you finally reach the tower full of chests. Time to loot like it’s a clearance sale.
The grand prize? Meredith’s Legacy, a Unique Longsword that’s both stylish and powerful. On top of that, you’ll gain favour with two major factions:
- Grey Wardens
- Lords of Fortune
A little extra political clout never hurts—especially in Dragon Age, where alliances can be just as important as swords.


