
How to Take Down the Yellow Wind Sage in Black Myth Wukong Without Breaking a Sweat
October 9, 2024The Yellow Wind Sage, one of the most formidable bosses in Black Myth Wukong, will challenge your skill, timing, and patience. A towering rat armed with a lethal trident and sandstorm abilities, this boss is the ultimate test for Chapter 2. Whether you’re a seasoned Souls veteran or new to this genre, this guide will provide everything you need to emerge victorious!
Table of Contents
Where to Find the Yellow Wind Sage
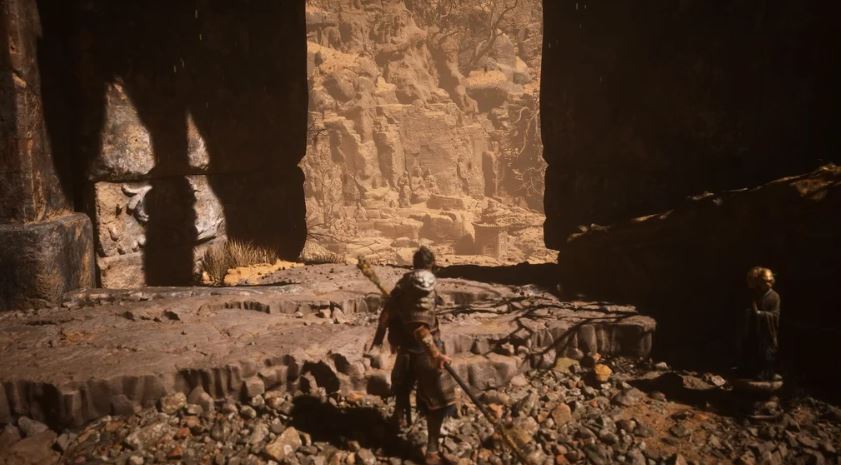
The Yellow Wind Sage can be found at the heart of the Yellow Wind Formation, locked behind two gates. To access his lair, you’ll need two key items:
- Sterness of Stone: Obtain this item by defeating the Stone Vanguard located in the Fright Cliff Region.
- Keenness of Tiger: Defeat the Tiger Vanguard in the Crouching Tiger Temple Region.
Once you have both items, head to the Yellow Wind Formation and open the gates to face the ultimate test of Chapter 2.
- Rewards: Samahdi Wind Agate, Cold Iron Leaves x2, Refined Iron Sand x1, Silk x5, Yaoguai Core x2, Mind Core x1, 2583 Experience, 1944 Will
Pre-Battle Prep: What You Need Before Facing the Sage
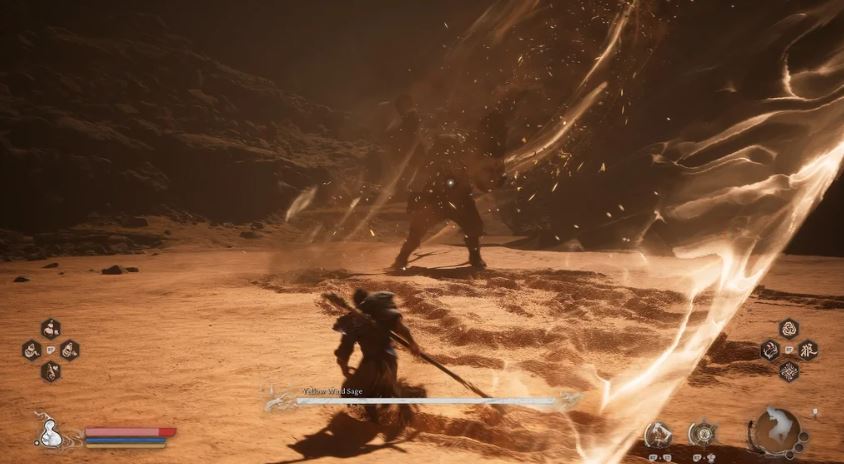
You don’t want to go into this fight unprepared. Before facing off with the Yellow Wind Sage, make sure you have:
- Crafted Celestial Medicines: Use Mind Cores to increase your health and damage absorption.
- Galeguard or Insect Armor: Ensure your armour is fully crafted for maximum protection.
- Cloud-Patterned Stone Staff: Obtained from the optional Sihandang boss, this weapon is ideal for countering the Sage.
- The Wind Tamer Vessel: Beat the Chapter 2 Secret Boss to get this. It’s an absolute game-changer against the Sage’s wind-based attacks.
With the right gear and medicine, you’ll have the resilience needed to outlast the Sage’s brutal moveset.
Yellow Wind Sage’s Moveset: Understanding the Chaos
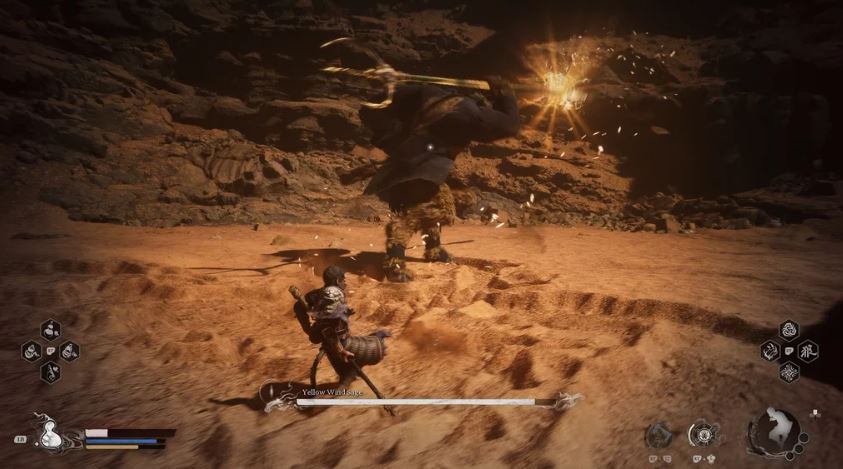
- Double Slash and Follow-Up Slash:
- The Sage starts off with an upward slash, followed by a horizontal slash, and ends with a delayed third vertical slash. These attacks can be tricky to dodge due to their range, but timing is everything.
- Tip: Evade backwards or sideways. If you stay in front of him, expect to be caught off guard.
- Backhand Swing into Ground Slam:
- This move has a slow startup but packs a punch. If you see him rotate his shoulder, it’s a sign that he’s about to swing his trident with force.
- Tip: Use the Rock Solid parry technique to stagger him and open him up for a counter.
- Stab and Eruption:
- When he drives his trident into the ground, smaller spears erupt in a straight line from the point of impact.
- Tip: Don’t dodge backwards! Strafe to the sides and counterattack once the eruption ends.
- Leaping Vertical Slice:
- After several quick downward strikes, he leaps into the air and crashes down with a vertical slice, erupting spears upon landing.
- Tip: Avoid by strafing and move in for a few hits after he lands.
- Quick Retaliation:
- Attempting to flank him results in a quick retreating slash. He jumps back and aims behind him, making it difficult to hit his weak spots.
- Tip: Stay in front of him until you understand his patterns, then try to bait out his retreating slash.
Phase Transition: Unleashing the Power of Samadhi Winds
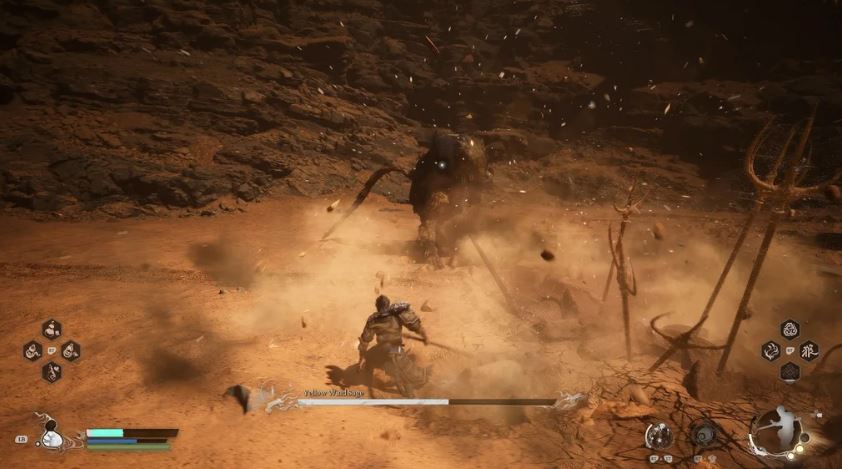
Once you’ve knocked off a third of the Sage’s health bar, he will throw his giant head into the sky and unleash his full power—the Samadhi Winds. He starts sweeping his trident in a massive sandstorm, which obscures visibility and makes it hard to predict his movements.
- Countering the Sandstorm: If you have the Wind Tamer Vessel, use it now. It will neutralize the sandstorm, disable his advanced attacks, and leave him stunned. This is your chance to land heavy attacks!
Without the Wind Tamer, you’ll have to deal with multiple sand clones of the Sage. These clones are intangible but will strike with real force. Focus on evasion until you find the real Sage again.
Second Phase: New Stance and Enhanced Moves
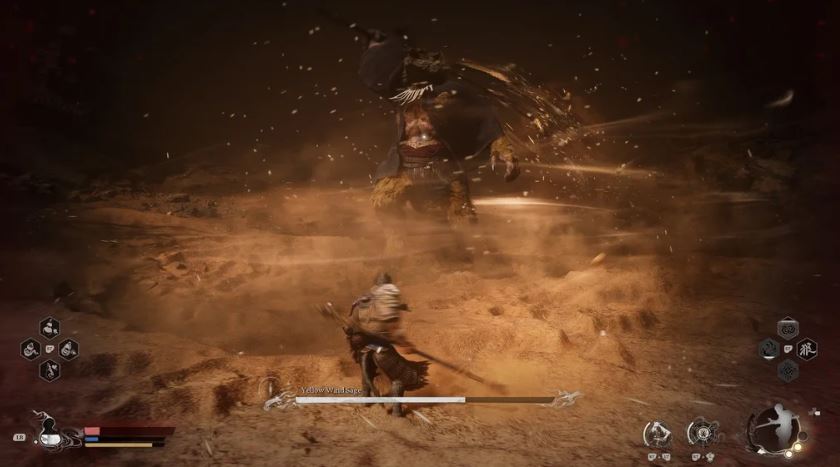
With the Sage down to half health, his fighting style changes dramatically. He switches to a reverse grip with his spear, and his moves become faster and more unpredictable.
- Kicking and Stomping Frenzy:
- He introduces more kicks and stomps in this phase, raising his foot or jumping low to the ground before slamming down hard.
- Tip: Keep an eye on his glowing limbs as they indicate follow-up spear attacks.
- Devastating Grab Attack:
- Watch for a sudden growl and crouch stance. He’s preparing to lunge and kick you into the air, pinning you with his trident. This grab will deplete a significant chunk of health if it connects.
- Tip: Dodge early and keep your distance when you see him crouch.
- Summon Sand Phantoms:
- He calls in a sandstorm that brings in a massive sand creation, like Fuban the Scarab Guai, to smash you from above.
- Tip: Use Rock Solid or Pillar Stance to rise above the ground and avoid being flattened.
Final Phase: Bringing the Tornado of Destruction
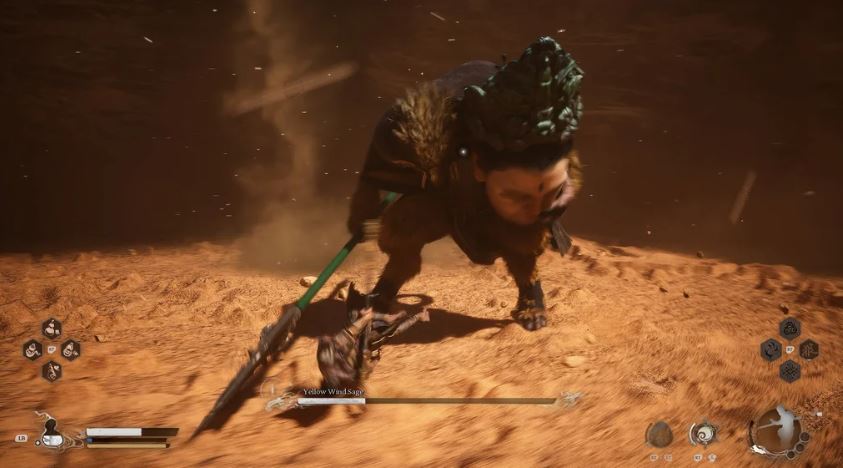
The Yellow Wind Sage will call back his giant head, creating another sandstorm, and a massive tornado will move around the arena. The tornado will disrupt visibility and drain your stamina, making it even harder to dodge and attack.
- Tip: Avoid getting caught in the tornado at all costs! If you have the Wind Tamer Vessel charged, use it immediately to dispel the tornado and finish off the boss once and for all.
With this comprehensive guide, you’re armed with everything needed to take down the Yellow Wind Sage and end the chaos in Chapter 2 of Black Myth Wukong. Master the mechanics, keep your cool, and emerge victorious! Good luck, warrior!


